Setting up Shifts
To manage Shifts, use the command Setup > Shifts.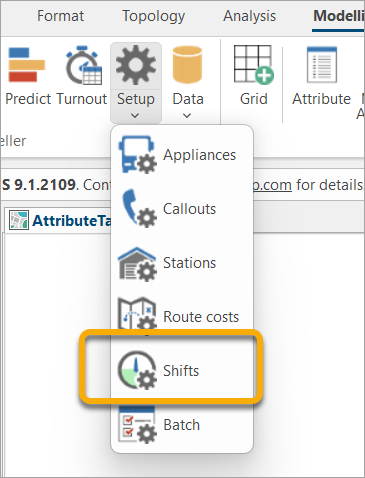
This opens the Manage Shifts dialog which lists the tables of shifts already created.
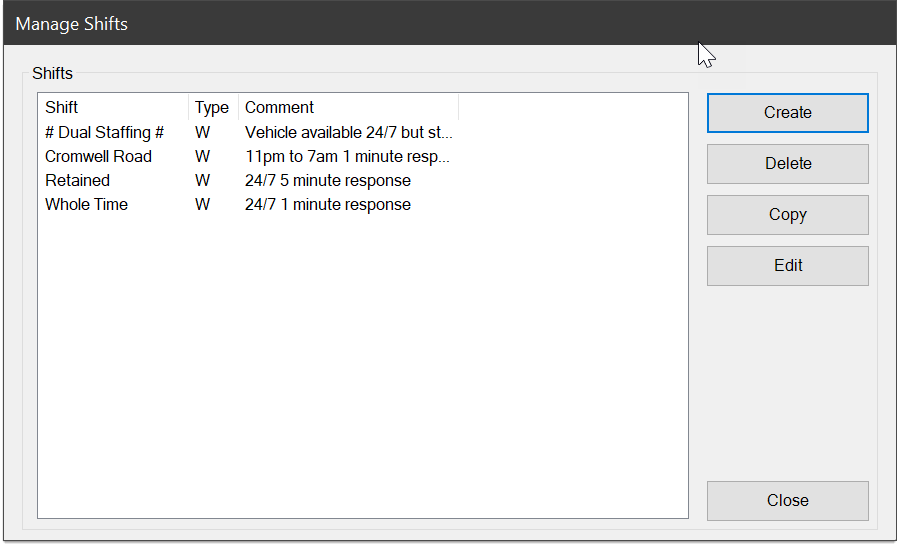
Remember a shift determines the appliance's availability, NOT the availability of personnel crewing the appliance.
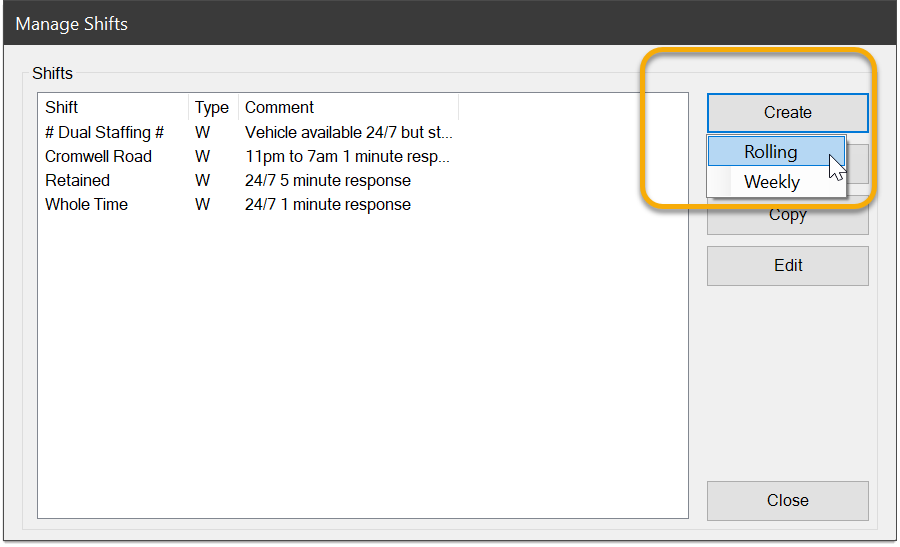
1. Create Shift
Click Create to select a Rolling Shift or a Weekly Shift.
Rolling Shift
A Rolling shift is similar to a Weekly shift except it:
- can be based on any number of days which continually roll over
- has days that are numbered 1 – N rather than named after weekdays.
- has a start date for day 1
Note: An appliance assigned a rolling shift will not be mobilised before the day 1 date.
Weekly Shift
- Set the required shift start/end times and the reaction times in minutes.
- %Avail (default value = 100) defines the likelihood of the appliance being available during the specified period.
For example the Whole-time crew are 100% available (i.e. always respond to a callout request) whereas the Retained crew are 90% (i.e. their availability is not guaranteed – there is only a 90% chance of them being available.)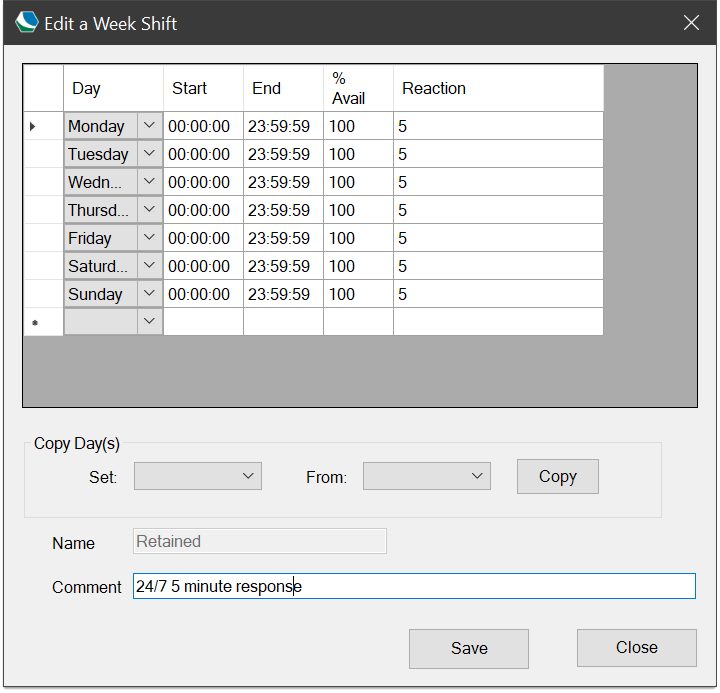
- Use the Copy button to copy settings for one day to other days.
- Enter the name of the shift and any required comment and click Create.
- If you click on Close the dialog will close with no entries being saved.
The Manage Shifts dialog will now show the new shift.
2. Delete a Shift
To delete a shift select the shift to be deleted and click Delete.
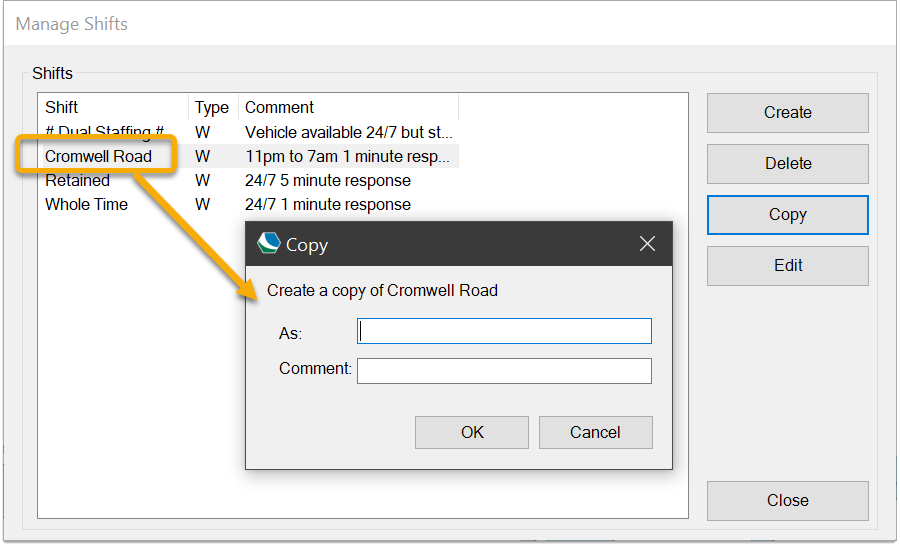
3. Copy a Shift
To copy a shift (normally to form the base shift for editing) select the shift and click Copy.
4. Edit a Shift
To edit a shift select the shift in and click Edit. The shift details are displayed:
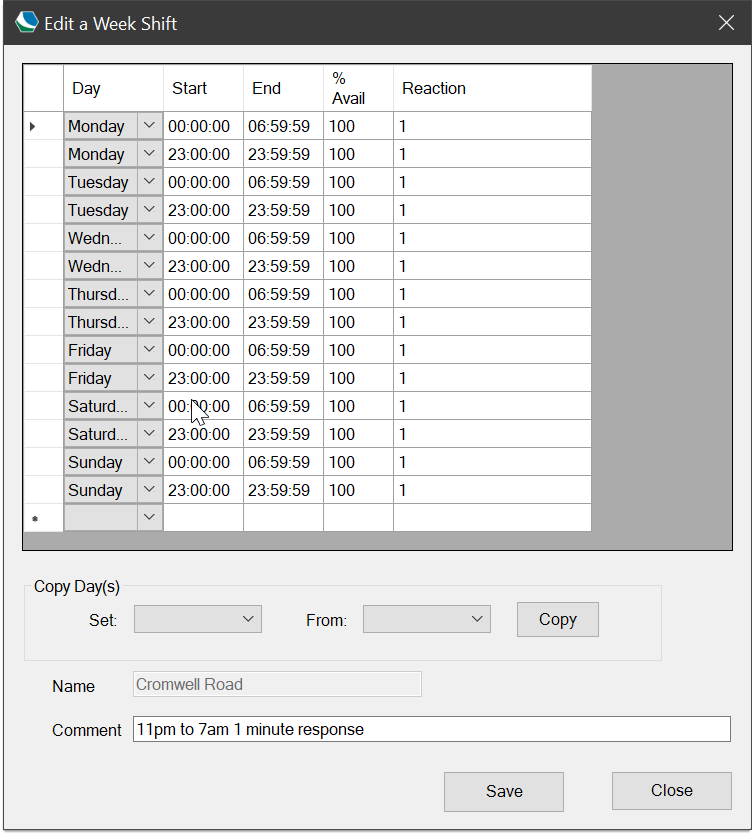
Make all necessary changes and click Save. If you click on Close the dialog will close with no edits being saved.
To delete a row from the set during this creation:
- Select the row by clicking on it (the black triangle symbol to the left shows which row is ‘current’);
- Hit the Delete key on the keyboard.
5. Create SRA Rolling Shift
Static Random Availability (SRA) rolling shift patterns allow modelling with different inputs, but keeping the same random availability of an appliance across all models.
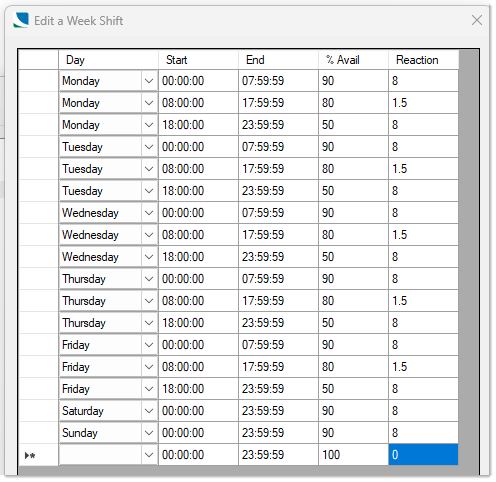
Begin by creating a weekly shift pattern (or select an already defined one) with availability levels ranging from 0 to 100 for each element. The availability levels are used to randomly decide if an element should be included in the rolling shift. Here is an example of a clearly defined weekly shift.
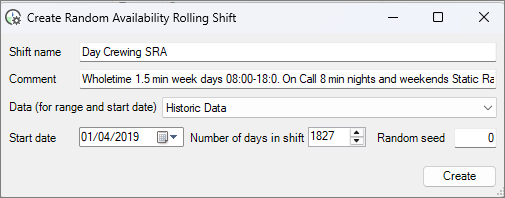
Next select a weekly shift and click ‘Create SRA Rolling Shift’.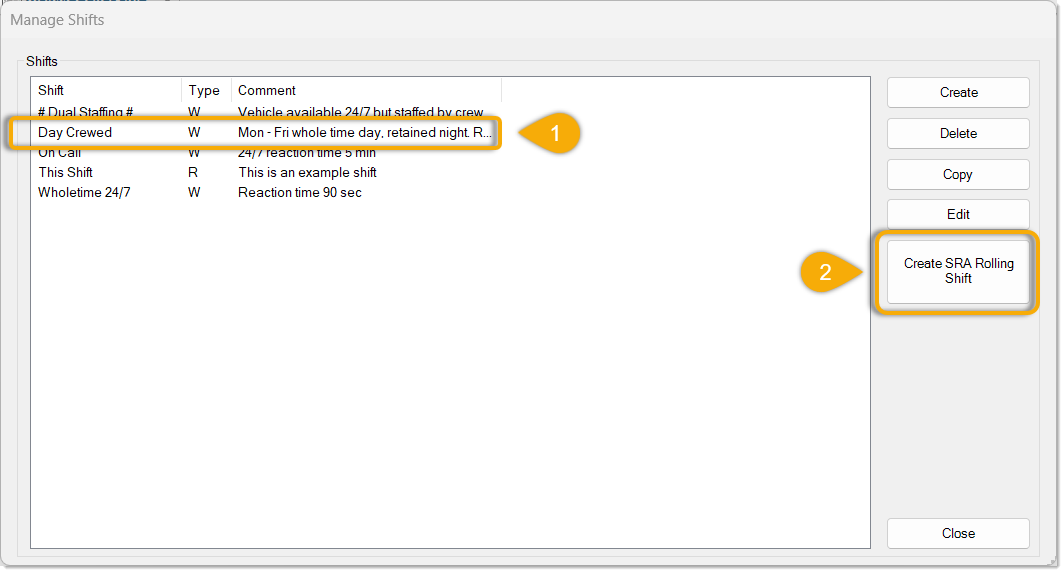
Select Historic or the name of a turnout model from the ‘Data’ dropdown; ‘Start date’ and ‘Number of days in shift’ are updated automatically based on the minimum and maximum dates in the data. If you enter a value for ‘Random seed’ the randomly generated numbers will be the same for each usage (i.e, a value of 234 will produce the same sequence of values each time 234 is entered). We recommend a default value of ‘0'; this generates a random sequence of values.
Click ‘Create.’
When complete, you will see confirmation of how many shift elements were added to the rolling shift and how many were randomly removed (shifts are removed to simulate the appliance being unavailable).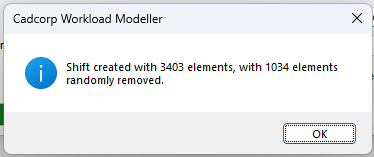
The newly created SRA rolling shift can now be seen in the ‘Manage Shifts’ list, and can be viewed in detail by selecting the shift and pressing ‘Edit’.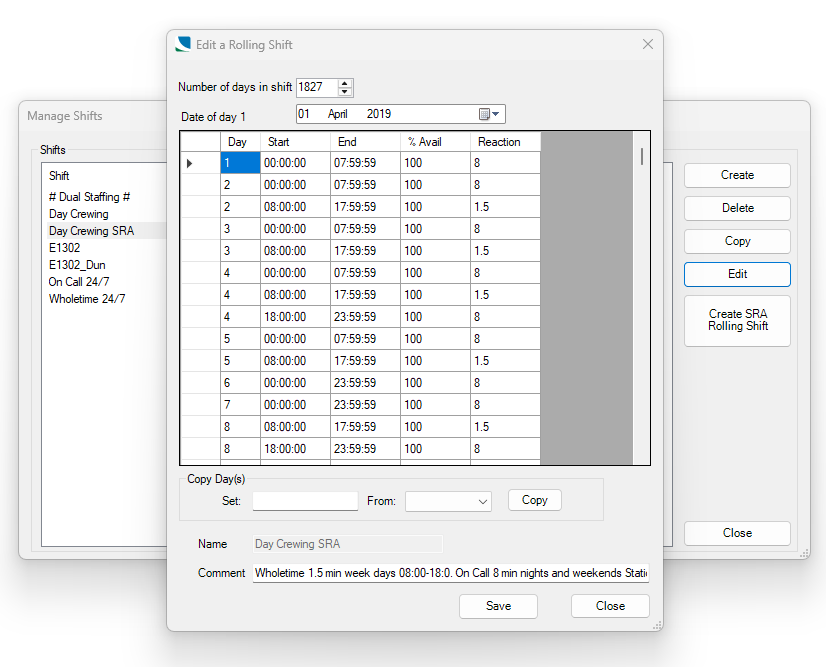
The shift pattern can now be applied to an appliance, ensuring the same ‘random availability’ is used across all models.
When using this method to simulate random availability, DO NOT select the ‘Use shift availability to include random non-availability of appliances’ option in modelling.